

How to Shutter Drag: Adding light trails and movement to senior photos
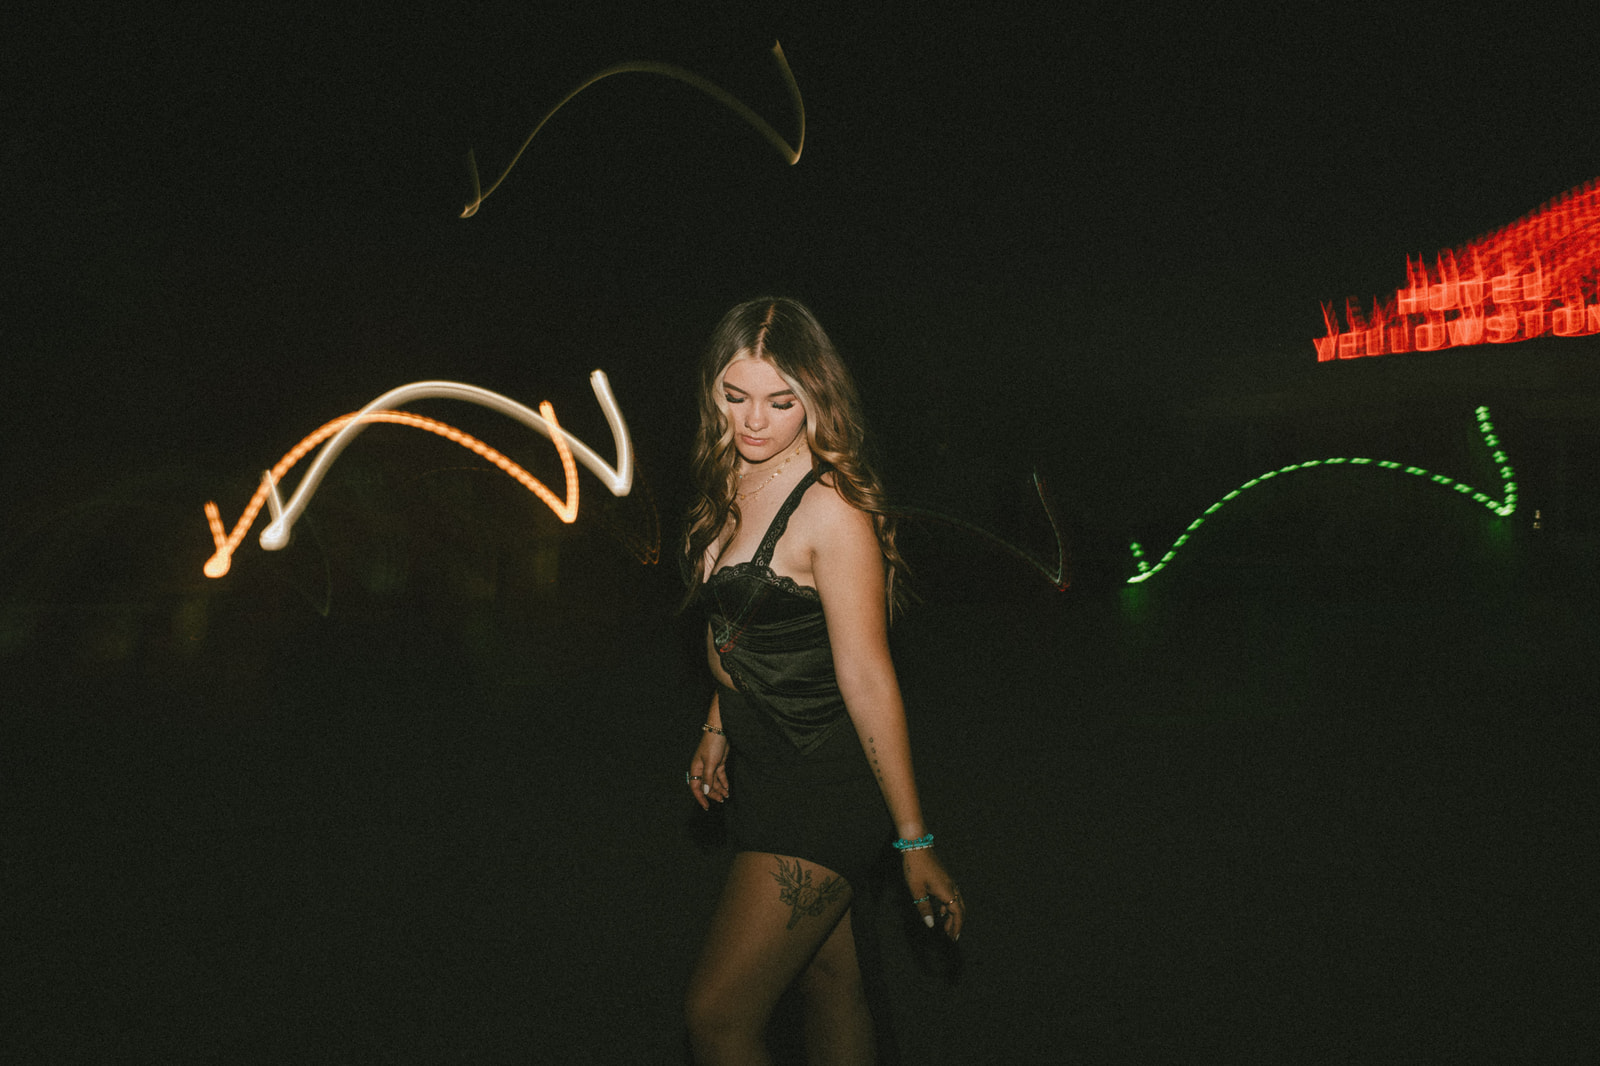
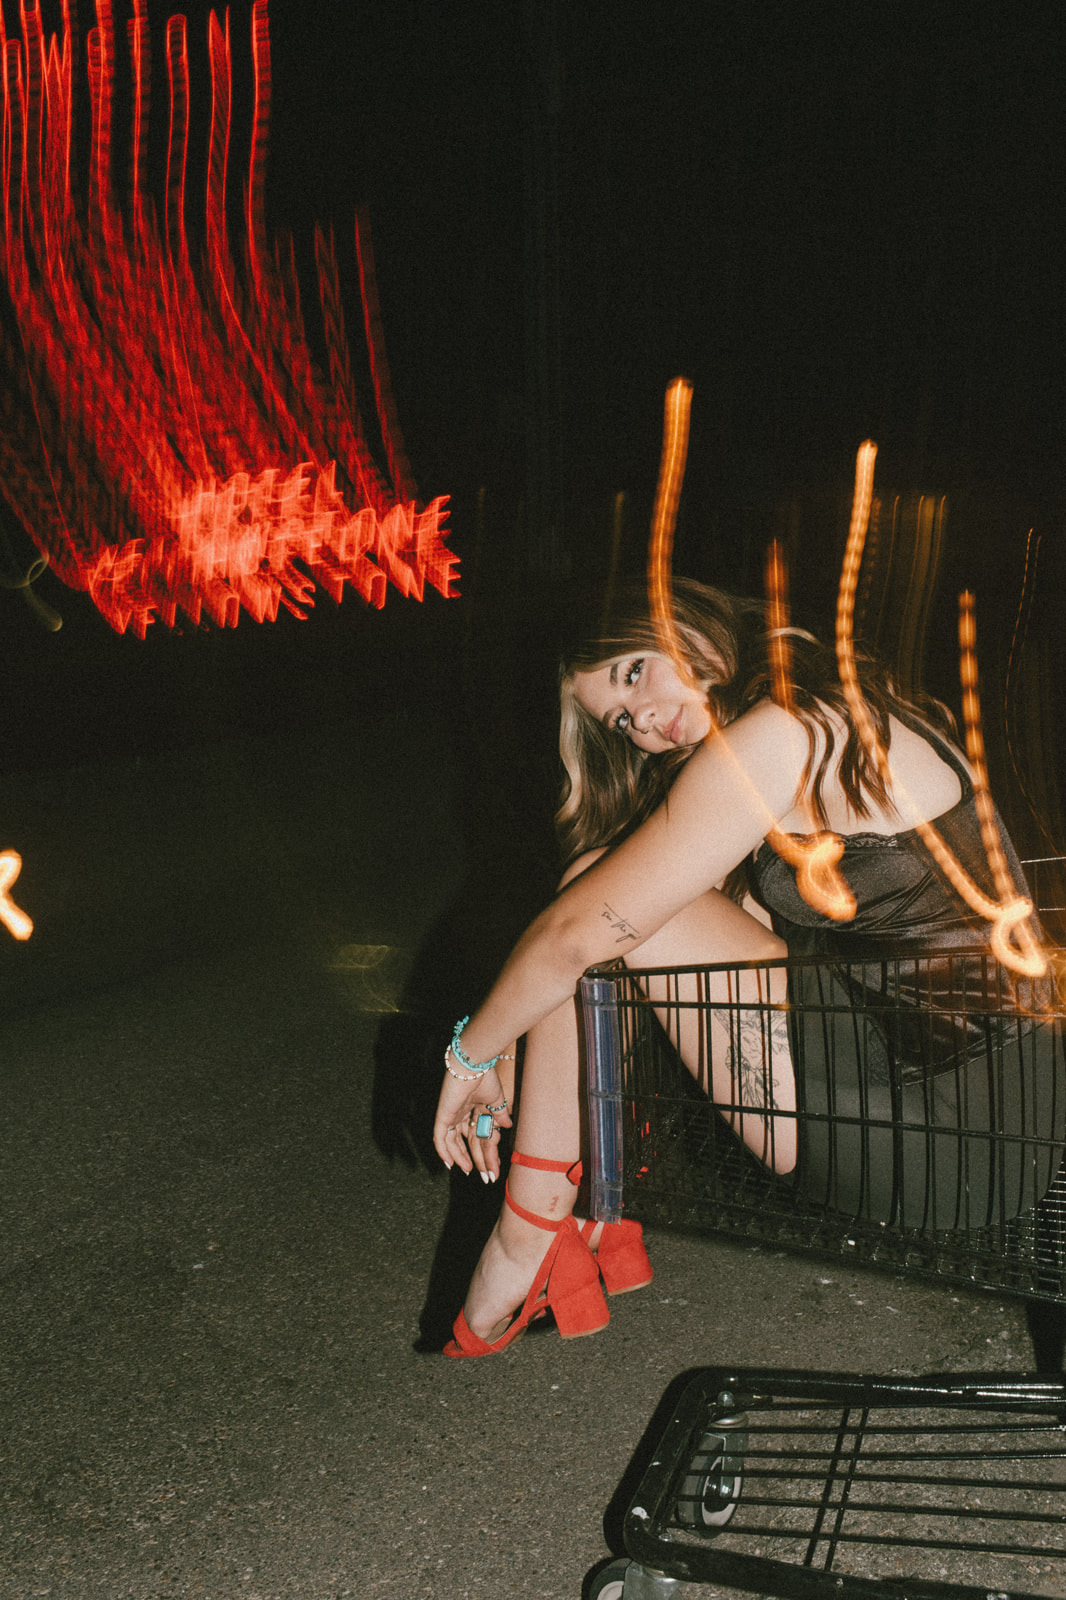
Ever wondered how to capture those mesmerizing dance party photos that burst with motion and light trails? These dynamic shots can transport you right into the heart of the celebration! As a wedding photographer, I often get asked how to create these striking reception photos. Whether you're a beginner or looking to refine your technique, this guide will walk you through the art of shutter dragging, helping you capture the perfect balance of subject and motion.
Understanding Shutter Dragging
Before diving into shutter dragging, it's crucial to have a solid grasp of shutter speed and manual shooting. If you're not familiar with these concepts, take a moment to learn them first.
Shutter speed refers to the duration your camera's shutter remains open, allowing light to hit the sensor. When you drag the shutter, you intentionally keep it open longer, creating artistic blur and light trails. This technique involves capturing the subject first and the motion second, achieving a harmonious blend of clarity and movement.
Essential Gear for Shutter Dragging
You don't need a ton of equipment to master this technique. Here's what you'll need:
- A camera with a hot shoe and manual mode.
- A wide-angle lens, ideally between 24mm and 35mm.
- A Speedlite flash.
- Editing software for post-processing.
Settings and Shooting Tips
My preferred settings achieve the desired look while capturing subjects clearly. Use these as a starting point and experiment to find what works best for you.
Step-by-Step Setup:
- Attach your Speedlite to the camera's hot shoe and switch your camera to manual mode.
- Mount your wide-angle lens and set it to autofocus (AF).
Camera Settings:
- ISO: Start around 800-1000, adjusting based on ambient light. Increase ISO for more background light or decrease for a darker look.
- Shutter Speed: Begin with a low shutter speed, around 1/6th of a second. Adjust as needed, but avoid exceeding 1 second for reception shots.
- Flash Sync Setting: Choose front curtain sync for consistent results. This setting fires the flash at the beginning of the exposure, freezing the subject while capturing light trails.
- Aperture (F-stop): Start with a high aperture, around f/16, and adjust to f/14 or f/12 if needed for brighter trails.
Speedlite Settings:
- Mode: Use manual or TTL mode based on your comfort level. TTL works well, but switch to manual for more control.
- Zoom: Set the flash zoom to the highest number available (85mm or higher) for a focused light beam.
- Direction: Point the bare flash directly at your subject, removing any diffusers.


